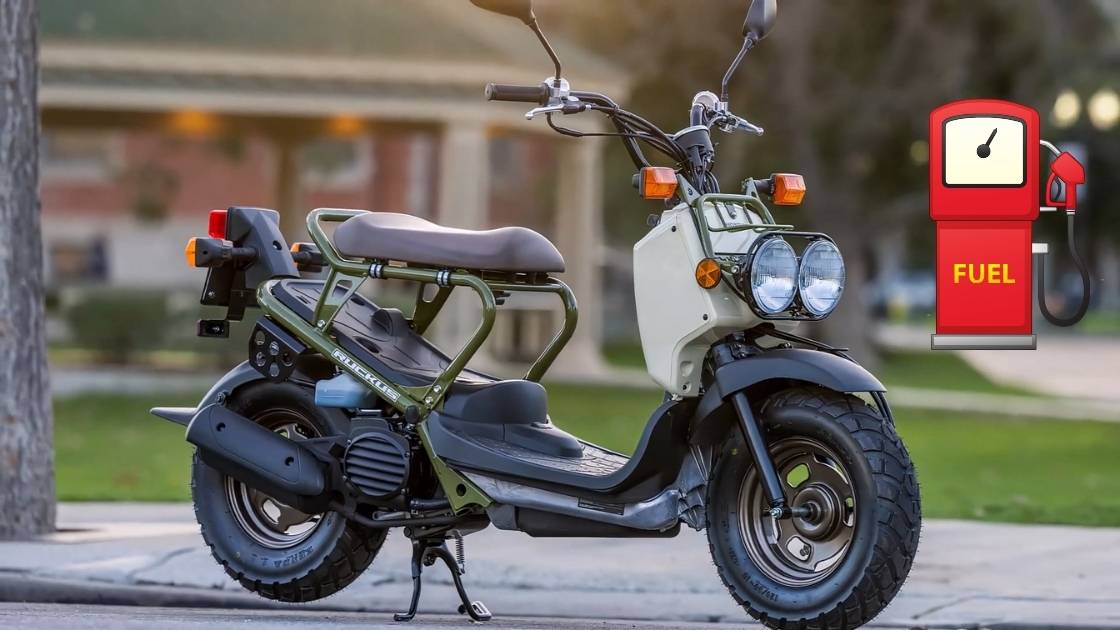
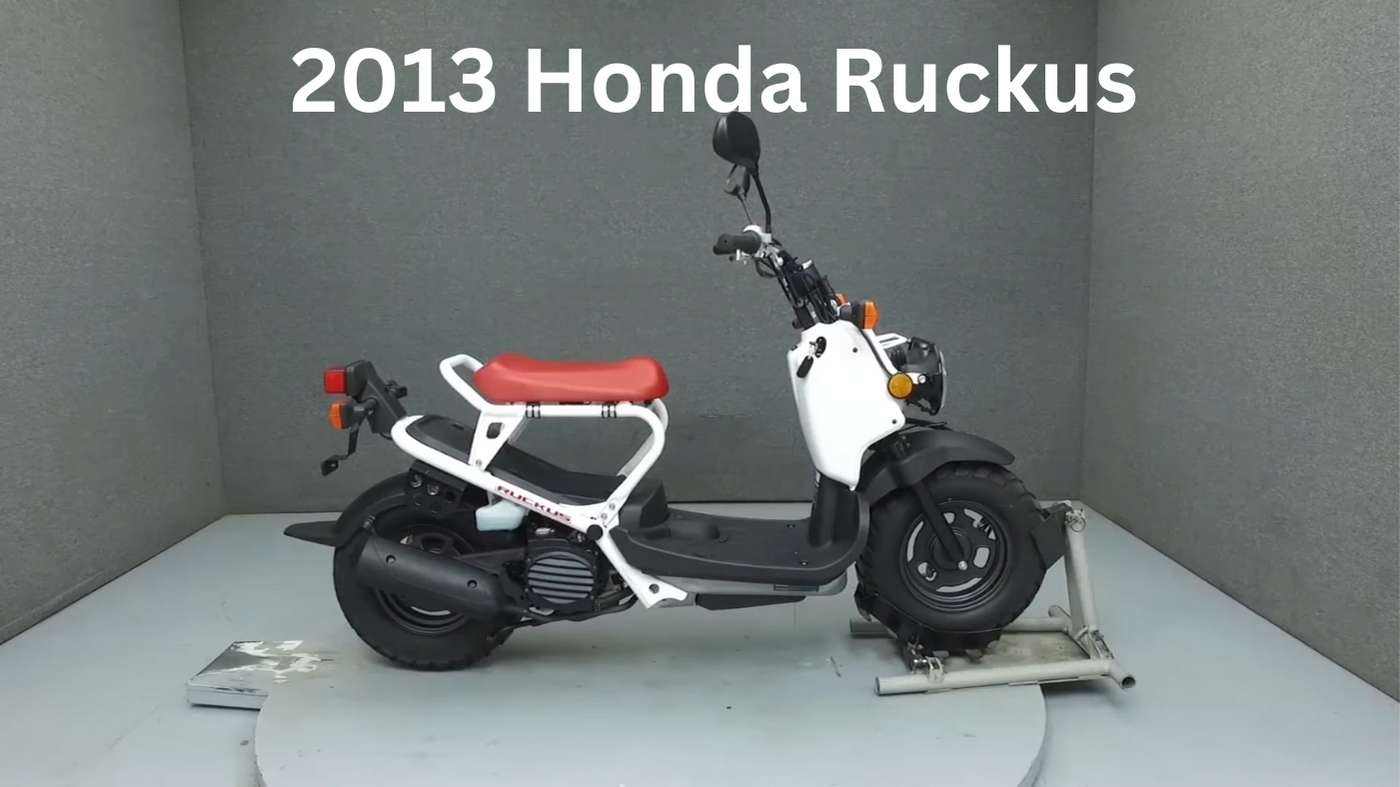
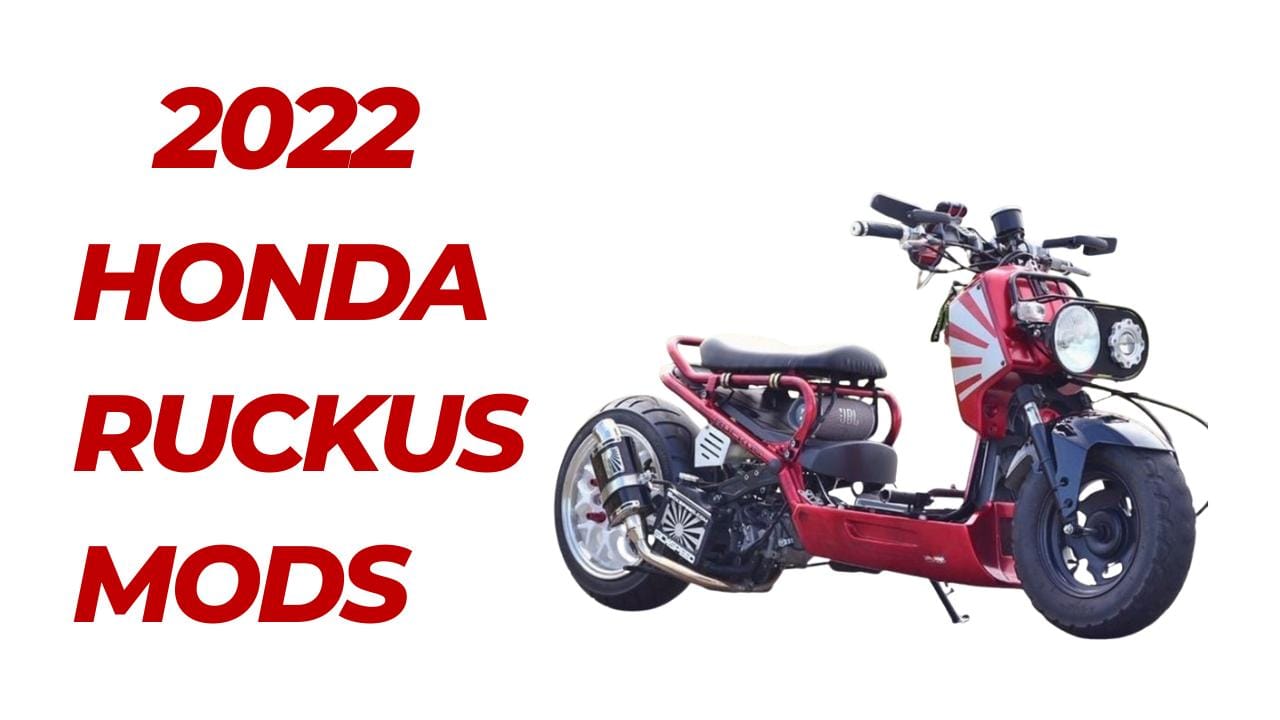
The Honda Ruckus is a small, rugged scooter that has gained a loyal fan base. Riders love its minimalist design, lightweight frame, and endless customization options. It’s fun, easy to ride, and perfect for city streets. But there’s one thing some owners wish they could change—the gas-powered engine.
Electric scooters are becoming more popular. They are quieter, cleaner, and cheaper to maintain. Many Honda Ruckus owners are now switching to electric power. The idea of converting a gas scooter into an electric one might sound complicated. But with the right plan, tools, and a proper Honda Ruckus electric conversion kit, the process is easier than most people expect.
This guide explains everything about Honda Ruckus electric conversion. It covers the benefits, costs, kits, and a step-by-step process. Whether you want better performance, lower maintenance, or an eco-friendly ride, this article will help.
Table of Contents
ToggleBenefits of Converting to Electric
Switching a Honda Ruckus to electric power brings several advantages. Riders enjoy a smoother, quieter experience. The need for fuel disappears. Maintenance becomes simpler. The scooter also becomes more eco-friendly.
How Does an Electric Conversion Enhance the Performance of a Honda Ruckus?
An electric motor delivers instant power. Acceleration improves. The ride feels smoother. Gas engines take time to build speed. Electric motors provide torque immediately. This helps in city traffic. The scooter moves without delay.
Electric power eliminates engine vibrations. The ride becomes quieter. No rattling or exhaust noise. Less heat from the motor makes the ride more comfortable. The electric setup also reduces wear and tear. No oil changes. No fuel system problems. Less time spent on repairs.
What Environmental Advantages Come with Switching to Electric Power?
Gas engines produce pollution. Electric motors do not. A Honda Ruckus electric conversion removes tailpipe emissions. This helps keep the air cleaner. A small change like this makes a big difference over time.
Electric power also reduces fuel consumption. Gas prices keep rising. An electric Honda Ruckus runs on a rechargeable battery. No trips to the gas station. No reliance on fossil fuels. Charging a battery costs much less than filling a gas tank.
How Does an Electric Conversion Impact Maintenance and Operational Costs?
A Honda Ruckus electric conversion lowers maintenance costs. A gas engine has many moving parts. It needs oil, spark plugs, air filters, and fuel pumps. These parts wear out. Replacing them costs money.
An electric motor has fewer parts. No oil changes. No fuel system problems. No exhaust system repairs. Batteries need replacement after several years, but the cost is much lower than engine repairs.
Charging a battery is cheaper than buying fuel. A full charge costs only a few dollars. Gasoline prices fluctuate. Electricity remains more stable. Over time, an electric scooter saves hundreds of dollars.
Planning Your Electric Conversion
A Honda Ruckus electric conversion requires a clear plan. Every step matters. The right parts make a big difference. A good setup ensures a smooth ride and reliable performance.
What Factors Should You Consider Before Starting the Conversion Process?
A Honda Ruckus electric conversion needs careful planning. The first step is deciding on the desired performance. Some riders want more speed. Others want longer battery life. The motor and battery choice will depend on this goal.
Weight distribution matters. A battery pack is heavy. Placing it in the right spot keeps the scooter balanced. A well-balanced scooter rides better and feels more stable.
Space is another factor. The frame of a Honda Ruckus is compact. The battery and motor need to fit without affecting comfort or handling. A well-designed layout keeps everything secure.
Legal rules should not be ignored. Some areas require electric scooters to meet specific regulations. Local laws may limit speed or require certain safety features. Checking these rules before starting helps avoid problems later.
How Do You Set Realistic Goals for Performance, Range, and Budget?
A Honda Ruckus electric conversion should match personal needs. Some people want a short-range scooter for city use. Others want long-distance rides. The battery choice affects the range. A larger battery lasts longer but costs more.
Speed also varies. A small motor saves energy but has lower speed. A high-power motor adds speed but drains the battery faster. Finding the right balance is key.
Budget plays a big role. A complete Honda Ruckus electric conversion kit makes things easier but costs more. Buying parts separately can save money but requires more effort. Setting a budget from the start helps avoid overspending.
Cost Breakdown: How Much Does a Honda Ruckus Electric Conversion Cost?
A Honda Ruckus electric conversion requires an investment. The total cost depends on the parts, labor, and extra modifications. Some riders build their own kits, while others buy complete packages. Understanding the price helps in making the right decision.
What Factors Affect the Total Honda Ruckus Electric Conversion Cost?
Several factors determine the total cost. The electric motor is one of the most expensive components. A basic 3kW motor costs around $300 to $600. A high-performance 7kW or 10kW motor costs between $800 and $1,500.
The battery pack is another major expense. A 72V lithium-ion battery costs anywhere from $700 to $2,500, depending on capacity and brand. High-capacity batteries provide longer range but come at a higher price.
The controller and charger add to the cost. A good-quality controller costs $200 to $600. A fast charger ranges between $100 and $400. Additional items like wiring, mounting brackets, and fuses can cost around $200 to $500.
Labor costs increase the total price. A professional installation costs $500 to $1,500, depending on location and complexity. Riders who install the kit themselves save money but need proper tools and skills.
Frame modifications may be needed. Custom battery mounts, motor brackets, and upgraded suspension can add $300 to $1,000 to the total cost. Safety upgrades like disc brakes, new tires, and LED lights may also be necessary.
How Does the Cost of an Electric Conversion Compare to Maintaining a Gas-Powered Ruckus?
A gas-powered Honda Ruckus requires regular maintenance. Oil changes, fuel filters, spark plugs, and exhaust repairs add up over time. A standard service costs around $100 to $300 per year. Major engine repairs can cost $500 or more.
An electric Ruckus eliminates fuel costs. A full battery charge costs only a few cents. Gasoline prices fluctuate, making fuel expenses unpredictable. A lithium-ion battery lasts 3 to 5 years, reducing long-term costs.
Electric motors require little maintenance. No oil changes. No carburetor cleaning. Fewer moving parts mean fewer repairs. Over several years, an electric conversion saves hundreds of dollars in maintenance.
Is It More Affordable to DIY the Conversion or Purchase a Pre-Built Kit?
A DIY conversion costs less but requires more effort. Buying individual parts saves money, but each component must be compatible. Custom mounting and wiring take time. Mistakes can lead to extra expenses.
A pre-built Honda Ruckus electric conversion kit simplifies the process. These kits include the motor, battery, controller, wiring, and mounting brackets. Prices range from $1,500 to $4,500, depending on quality and power. Some kits come with step-by-step guides, making installation easier.
Essential Components for Conversion
A Honda Ruckus electric conversion requires the right parts. Each component plays an important role. The motor provides power. The battery stores energy. The controller regulates performance. The charger keeps the system running. Choosing high-quality parts improves efficiency and reliability.
Which Electric Motors Are Compatible with the Honda Ruckus?
The motor is the heart of the conversion. It determines speed, acceleration, and power. A brushless DC (BLDC) motor works best for a Honda Ruckus electric conversion. It runs quietly, lasts longer, and requires less maintenance.
Power rating matters. A 3kW to 5kW motor provides good performance for city rides. A 7kW or higher motor increases speed but drains the battery faster. The right motor depends on the rider’s needs.
Mounting space is limited. The motor must fit securely within the Honda Ruckus frame. A compact design makes installation easier. Some motors include built-in cooling systems to prevent overheating.
What Types of Batteries Are Most Suitable for This Conversion?
The battery affects range and performance. A good battery lasts longer and charges faster. Lithium-ion (Li-ion) batteries are the best choice. They are lightweight, durable, and store more energy than lead-acid batteries.
Capacity matters. A 72V 30Ah battery gives a decent range. A 72V 50Ah battery provides longer rides but costs more. A larger battery increases weight, so balance is important.
Mounting space is limited. The Honda Ruckus frame must hold the battery securely. Custom brackets or mounting plates keep it stable. Proper wiring ensures safety and efficiency.
How Do Controllers and Chargers Fit into the Conversion Setup?
The controller connects the motor and battery. It controls acceleration and power flow. A programmable controller allows adjustments for speed and efficiency. Higher amp ratings improve performance but increase energy use.
A smart charger ensures safe charging. A fast charger reduces downtime. A BMS (Battery Management System) prevents overcharging and overheating. Safety features protect the battery and extend its life.
Step-by-Step Conversion Process
A Honda Ruckus electric conversion follows a clear process. Each step must be done carefully. A safe and well-planned installation ensures better performance. Proper wiring and secure mounting keep the system reliable.
How Do You Safely Remove the Existing Internal Combustion Engine?
The gas engine must be removed before installing the electric components. Start by disconnecting the battery and fuel lines. Drain any remaining gas to prevent leaks. Remove the exhaust system, air filter, and carburetor.
The engine mounts hold the motor in place. Loosen the bolts and slide the engine out. The chain or belt connecting the engine to the wheel must also be removed. Keep track of all nuts and bolts for later use. A clean workspace makes installation easier.
What Is the Procedure for Installing the Electric Motor and Aligning It Correctly?
The new electric motor replaces the old engine. The mounting plate must match the existing frame. Some custom brackets may be needed. The motor should be secured tightly to avoid movement during rides.
The alignment must be perfect. The motor shaft should line up with the rear wheel sprocket. A misaligned setup causes wear and reduces efficiency. A new chain or belt drive connects the motor to the wheel. Proper tension prevents slipping.
How Do You Integrate the Battery Pack Securely and Efficiently?
The battery pack powers the motor. The placement affects weight distribution. A central location keeps the scooter balanced. The under-seat storage area or floorboard works well.
The battery must be secured with brackets or straps. Loose batteries can shift while riding. The connections should be tight and well-insulated. A Battery Management System (BMS) prevents overcharging and overheating.
What Wiring and Connections Are Necessary for Optimal Performance?
The controller connects the motor and battery. Thick, high-quality wires prevent power loss. A fuse protects the system from surges. The throttle connects to the controller to regulate speed.
Proper wire routing prevents tangling. Securing cables with zip ties improves safety. A waterproof casing protects the controller from dirt and moisture. The brake system should also be checked for compatibility with the electric setup.
Addressing Technical Challenges
A Honda Ruckus electric conversion improves performance, but some challenges may arise. Proper adjustments ensure the scooter runs smoothly. Each issue has a solution that keeps the ride safe and efficient.
How Do You Manage Weight Distribution After the Conversion?
Electric components add weight to the scooter. The battery pack is the heaviest part. Placing it in the wrong spot affects handling. A balanced setup keeps the ride stable.
The center of gravity should remain low. A battery placed too high makes the scooter harder to control. Mounting the battery under the seat or near the floor improves stability. Even weight distribution prevents tilting while turning.
What Modifications Are Needed for the Braking System to Handle the New Setup?
Electric motors provide instant power. The braking system must handle the increased torque. Stock brakes may not be strong enough. Upgrading to disc brakes improves stopping power.
Regenerative braking can be added. This system slows the scooter and recharges the battery at the same time. It reduces wear on brake pads and extends battery life. Testing the brakes after installation ensures safety.
How Can You Ensure the Structural Integrity of the Frame Post-Conversion?
The Honda Ruckus frame was designed for a gas engine. The added weight of the electric motor and battery puts stress on the frame. Reinforcement may be needed to prevent bending or cracking.
Welding extra support bars strengthens the frame. Bolting a reinforcement plate near the battery mount helps with durability. Checking for weak points prevents long-term damage. A strong frame keeps the ride safe.
Legal and Safety Considerations
A Honda Ruckus electric conversion must follow local laws. Every region has different rules for electric scooters. Checking these regulations ensures legal operation. Safety also matters. A well-maintained scooter prevents accidents and extends battery life.
What Are the Legal Requirements for Operating an Electric-Converted Scooter in Your Area?
Electric scooters follow different laws than gas-powered ones. Some states require registration, insurance, or special licenses. Speed limits also vary. A converted Honda Ruckus may need inspection before use on public roads.
Many places classify electric scooters based on motor power and top speed. A low-power motor may not need registration. A high-speed setup might require a motorcycle license. Checking with the Department of Motor Vehicles (DMV) helps avoid legal trouble.
Helmet laws also apply. Some areas require riders to wear helmets for safety. Reflectors and lights improve visibility. Following the rules prevents fines and ensures a smooth riding experience.
How Do You Ensure Compliance with Safety Standards and Regulations?
Electric scooters must meet safety standards. A strong braking system prevents accidents. Upgrading to disc brakes improves stopping power. Testing the brakes before riding ensures they work properly.
Wiring should be insulated and secured. Exposed wires cause short circuits or malfunctions. A fuse or circuit breaker protects the system from electrical failures. Waterproof connectors keep moisture out. Proper lighting is required by law. A bright LED headlight and taillight improve visibility. Turn signals help in traffic. A loud horn alerts pedestrians and other riders. Every feature makes the scooter safer on the road.