
If you’re anything like me, the idea of customizing your Honda Ruckus with a Keltic Sidecar has probably crossed your mind more than once. There’s something undeniably cool about having that extra bit of flair on your scooter, not to mention the added practicality. But before you dive in, it’s worth knowing what you’re getting into—both the good and the, well, not-so-good.
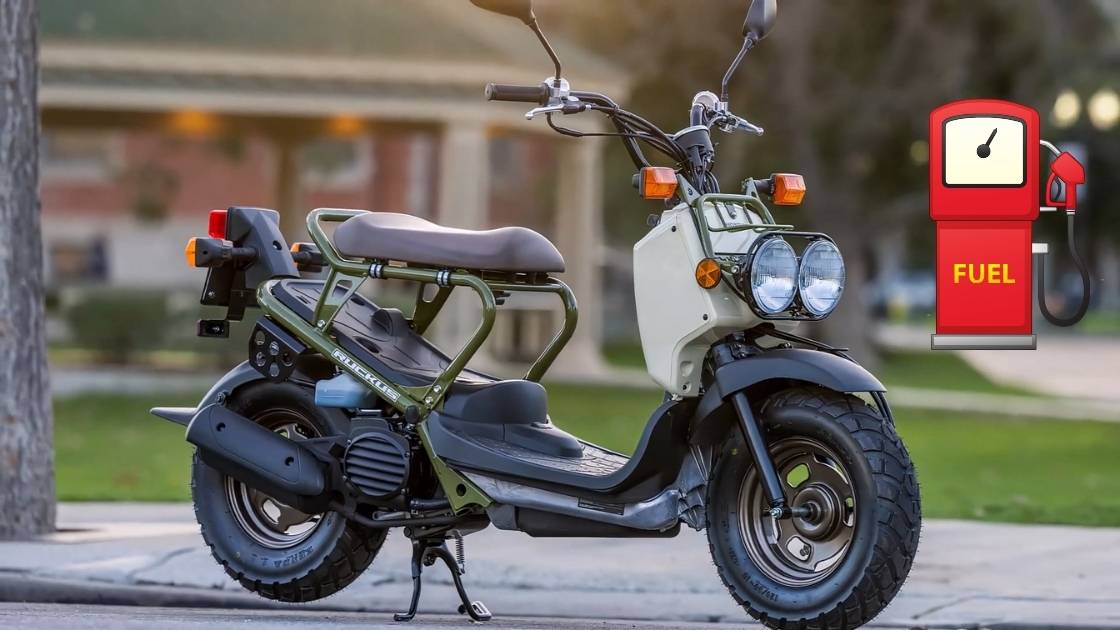
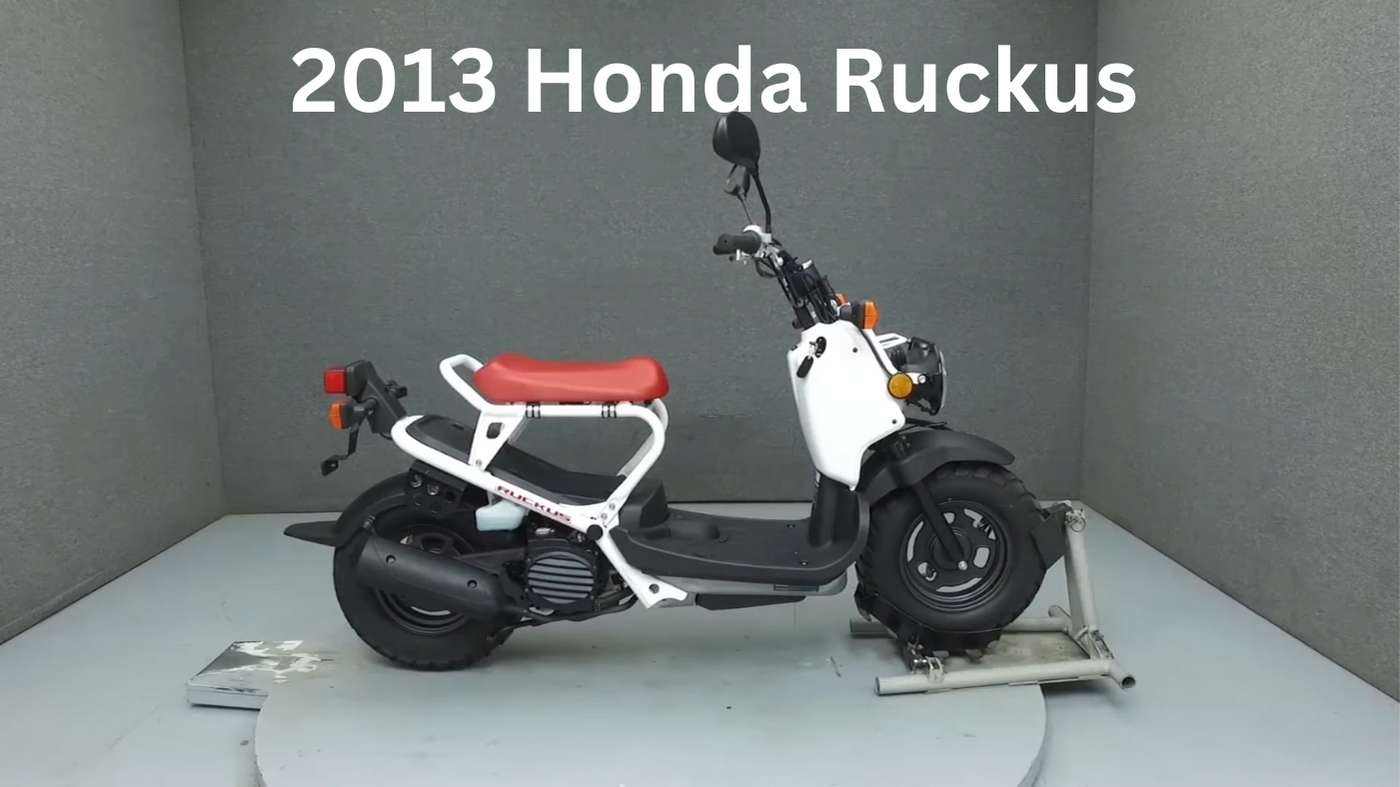
When I first heard about the Keltic Sidecar for the Honda Ruckus, I was intrigued. The Honda Ruckus is already a head-turner, but pairing it with a sidecar? That takes it to a whole new level. I mean, just imagine cruising down the street with your dog or some extra gear riding shotgun. The idea had me hooked from the start.
Table of Contents
ToggleWhy Choose a Keltic Sidecar for Your Honda Ruckus?
So, why should you even consider adding a Keltic Sidecar to your Honda Ruckus? Well, let’s start with the obvious: it looks awesome. There’s no denying that a sidecar gives your scooter a unique, retro vibe that’s hard to beat. But beyond aesthetics, there are some solid reasons to consider this upgrade.
First off, stability. If you’ve ever ridden a scooter, you know that balance can be a bit tricky, especially at low speeds or on rough terrain. The Keltic Sidecar adds a third wheel to the mix, making your Ruckus more stable. This is especially handy if you’re carrying extra weight—whether that’s a person, a pet, or just some extra gear.
Then there’s the practicality. The Keltic Sidecar offers extra storage space, which, let’s be honest, is something every scooter could use more of. Whether you’re heading out for a weekend trip or just doing your weekly grocery run, that extra space can be a game-changer. And let’s not forget about the social aspect. Having a sidecar opens up the possibility of bringing a friend (or furry companion) along for the ride.
Installation Process for Keltic Sidecar on Honda Ruckus
Alright, let’s dive into how to install a Keltic Sidecar on your Honda Ruckus, based on my experience and the insights I’ve picked up along the way. I’m going to walk you through the process, step by step, with all the tips and tricks you’ll need to get it done right.
Step 1: Gather Your Tools
Before we get started, let’s talk tools. Here’s what you’ll need:
- Rubber Mallet: For tapping things into place without causing damage.
- Sockets and Wrenches: Specifically, you’ll need a 9/16″ deep well socket, a 3/4″ socket, a 9/16″ regular socket, a 1/2″ socket, and a 7/16″ socket. You’ll also want to have open-ended wrenches in 7/16″, 1/2″, and 3/4″.
- Ratchets: Two ratchets will make the job easier, but if you only have one, you can use an open-ended wrench alongside it.
- Allen Wrench: A 3/16″ size will be necessary.
- Drill: A cordless drill with a good quarter-inch cobalt metal drill bit will be key for drilling through the frame.
- WD-40: This will help keep your drill bit cool and make it easier to cut through metal.
Having the right tools on hand is half the battle. Trust me, trying to make do with the wrong tools can turn a fun project into a frustrating one.
Step 2: Preparing the Bracket
The first thing you’ll want to do is get the bracket in place. This is where the rubber mallet comes in handy. The bracket is designed to fit snugly into the frame, and it might need a bit of encouragement to slide all the way up.
Position the bracket so that the flat spot lines up with the weld on the frame of your Ruckus. Make sure the long side is on the correct side of the scooter (you’ll know if it’s not fitting right). If it doesn’t go all the way up on its own, give it a few taps with the mallet until it’s fully seated.
Step 3: Drilling the Frame
Next up is drilling the frame to secure the bracket. This step is crucial, so take your time. Use your quarter-inch cobalt metal drill bit for this—it’s designed to make quick work of metal and will save you a lot of hassle.
Before you start drilling, give the drill bit a quick spray of WD-40. This helps reduce friction and keeps the bit from overheating. When you’re ready, keep your drill flat and choose a spot on the frame to drill through. You want to make sure the holes line up perfectly with the bracket so that the bolts will slide in easily later.
Step 4: Securing the Bracket
With your holes drilled, it’s time to secure the bracket with bolts. Grab your 7/16″ bolts, nuts, and washers. Start by finger-tightening the bolts, then use your 7/16″ open-ended wrench to hold the nut in place while you tighten the bolt from the other side with your ratchet.
Do this on both sides of the frame to ensure the bracket is firmly attached. Once everything is tight, give it a good wiggle to make sure there’s no movement.
Step 5: Attaching the Jackleg
Now that your bracket is in place, it’s time to attach the jackleg to the frame plate. This part’s pretty straightforward. Line up the holes on the jackleg with the pre-drilled holes in the frame plate, then drop the bolts through and tighten them up with your 7/16″ ratchet and socket.
This step is crucial for keeping everything aligned, so make sure the jackleg is securely attached before moving on.
Step 6: Tightening the Main Bolts
With everything aligned and attached, it’s time to really lock things down. You’ll need your 3/4″ socket and ratchet, along with a 3/4″ open-ended wrench. Start by tightening the bolts in a crisscross pattern—this helps ensure even pressure and a secure fit.
If you’ve got an impact wrench, this is where it comes in handy. It’ll save you a lot of time and elbow grease. But if not, just take your time and tighten each bolt until it’s snug.
Step 7: Adjusting and Securing the Fender
With the main parts of the sidecar attached, it’s time to take care of the smaller details—like adjusting the fender. The fender is what protects your sidecar from debris kicked up by the wheel, so you want to make sure it’s securely attached.
Use your 3/16″ Allen wrench to tighten the set screw on the fender spindle. A bit of Loctite can help keep it secure over time. Make sure the fender is lined up properly and isn’t wobbling around—trust me, you don’t want it coming loose while you’re riding.
Step 8: Installing the Fiberglass Tub
Now it’s time to install the fiberglass tub—the part where your passenger or cargo will sit. This is pretty straightforward: line up the pre-drilled holes in the tub with the holes in the frame, then drop your half-inch bolts through and tighten them up.
If the holes don’t line up perfectly, you might need to enlarge them slightly with a drill. Once everything’s lined up, tighten the bolts securely.
Step 9: Final Check and Test Ride
Before you hit the road, give everything one last check. Make sure all the bolts are tight, the sidecar is secure, and nothing’s loose. It’s a good idea to add a bit of Loctite to the bolts for extra security.
Now, take your Ruckus for a test ride. Start slow, just around your neighborhood, to get a feel for how the sidecar affects handling. You might notice some differences in how the scooter steers and accelerates, so take your time getting used to it.
Customization Ideas for Honda Ruckus with Keltic Sidecar
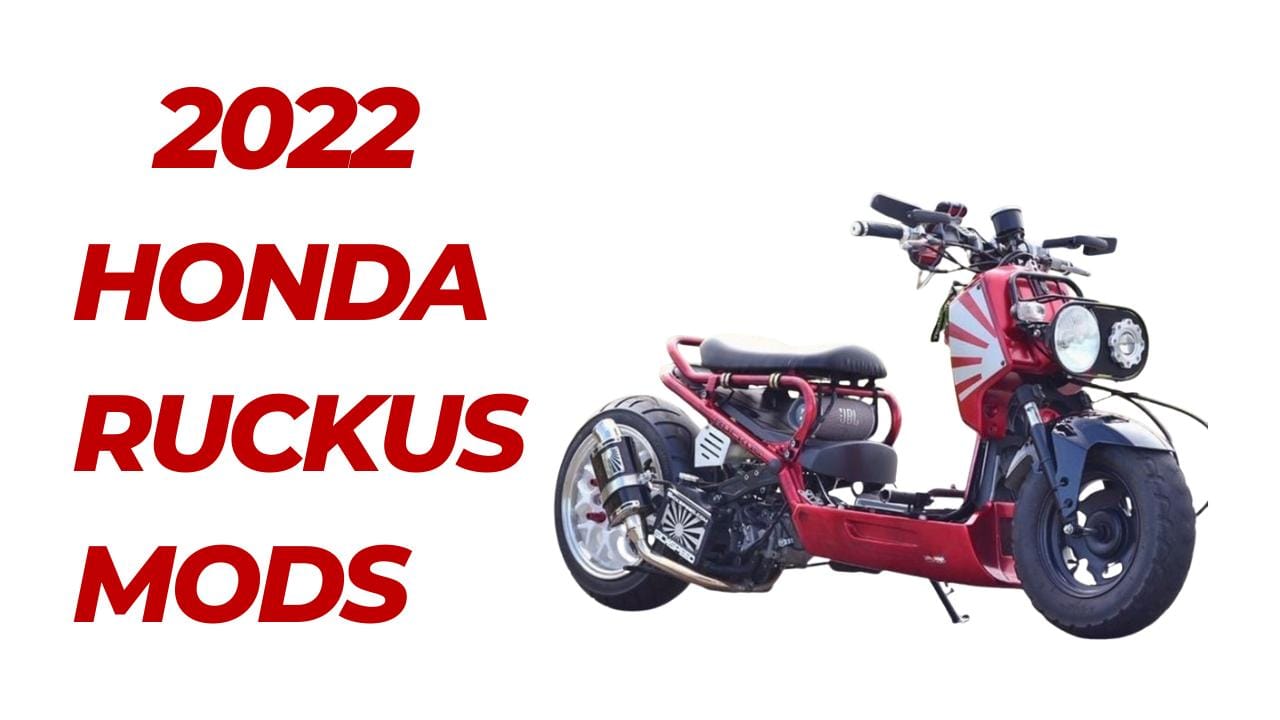
One of the best parts about adding a Keltic Sidecar to your Honda Ruckus is the customization possibilities. I had a blast tweaking my setup, and I’m sure you will, too.
Start with the basics: paint and decals. The Keltic Sidecar is like a blank canvas, just waiting for your creative touch. I opted for a retro look with some vintage-inspired decals, but the sky’s the limit. You could go for a sleek, modern design or even something totally wild—whatever matches your style.
Lighting is another area where you can get creative. Adding some LED strips or custom headlights can really make your Ruckus stand out, especially at night. Plus, it adds a bit of extra visibility, which is always a good thing.
If you’re like me and love a practical mod, consider adding some functional accessories. I added a small cargo carrier to the sidecar for extra storage. It’s perfect for those longer rides where you need to bring along some gear. I’ve also seen people add custom seating, sound systems, and even coolers. Whatever makes your ride more enjoyable, go for it!
Maintenance Tips for Honda Ruckus with Keltic Sidecar
Owning a Honda Ruckus with a Keltic Sidecar is a blast, but it does require a bit of extra maintenance. Here’s what I’ve learned from keeping mine in tip-top shape.
First off, tires and brakes. With the added weight of the sidecar, your tires and brakes are going to wear out faster than usual. Keep an eye on them and replace them as needed. It’s also a good idea to check the tire pressure regularly—under-inflated tires can affect handling and fuel efficiency.
Another thing to watch out for is the attachment points. The sidecar is connected to your Ruckus at several points, and over time, these can loosen. Make it a habit to check them regularly and tighten any bolts that have worked their way loose. Trust me, it’s better to catch these issues early.
Finally, don’t forget about seasonal maintenance. If you live in an area with harsh winters, you’ll need to take extra care when storing your Ruckus. I usually clean mine thoroughly, cover it up, and make sure the battery is disconnected if I’m not going to ride it for a while. Come spring, it’s ready to roll without any issues.
FAQs
How difficult is it to install a Keltic Sidecar on a Honda Ruckus?
Installing a Keltic Sidecar isn’t exactly a walk in the park, but it’s doable with the right tools and some patience. If you’re comfortable with basic mechanical tasks, you should be able to handle it. Just take your time and follow the instructions carefully.
How does the Keltic Sidecar affect the Honda Ruckus’s speed?
The sidecar will definitely slow you down a bit. You’ll notice a decrease in acceleration and top speed, but for most casual riders, it’s not a dealbreaker. The trade-off is more stability and the ability to carry extra gear or passengers.
Can the Keltic Sidecar be removed easily?
Yes, one of the great things about the Keltic Sidecar is that it’s.